Another post, another lot completed! Firstly I went on the hunt for the missing 3 way coolant hose. I searched high and low in the garage at home, and then I found it wedged behind the lathe. Only took me 45 minutes of searching! Anyway, here it is:


As you can see the end was covered in chain grease from where it lives right next to the front sprocket. I then set about cleaning that up:
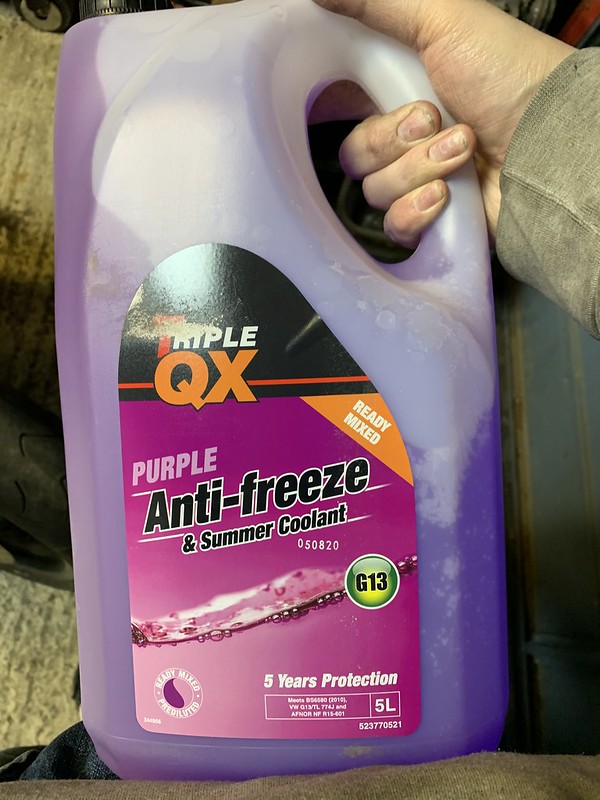
I then installed that hose between the top radiator outlet, the throttle body thermowax cylinder, and the lower engine coolant inlet. I then did a full check of the cooling system, and realised I hadn’t installed a small bore hose between the top of the thermostat and the radiator so I fitted that. Then after one final check I filled it up with coolant:


Then I fitted the battery. This is the old battery that was on the bike way back when I got it. I’ve had it on and off optimates over the past few years, and I thought I’d see if it worked:

Then I installed the lower airbox half and the air filter:

and affixed the top:

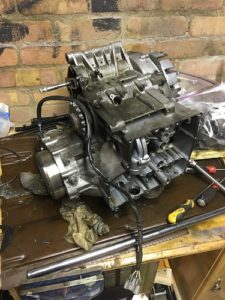
I then broke out the fuel tank (I have three of these, this is the best condition one that I’m intending to get sprayed):

I had ordered a new seal for the fuel pump a couple of years ago so I retrieved that:
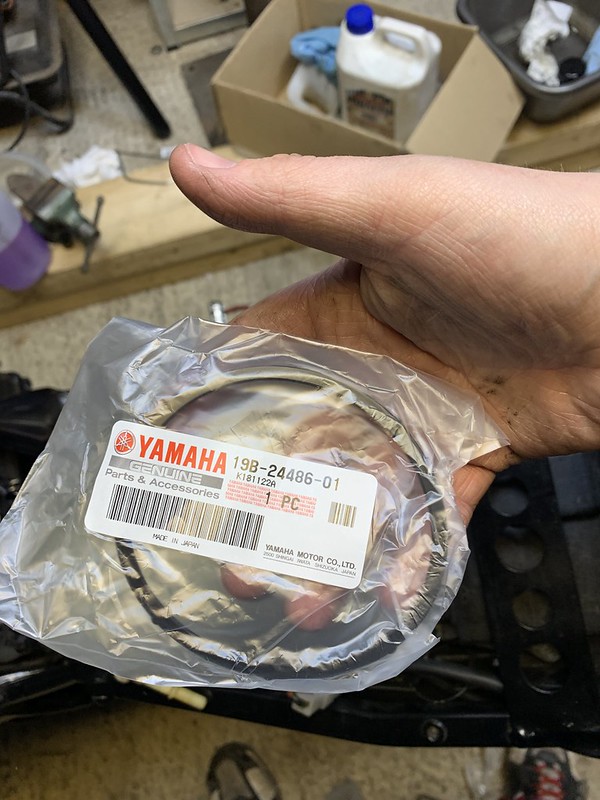
I then got the fuel pump, cleaned the seal channel, and fitted the seal. I had removed the level sender in order to remove the fuel pump from the tank, so I re-attached this as I was putting the pump back in the tank. This is a fiddly job but its not TOO bad:


I then fitted the front tank mount:
Connected and fitted the tank to the bike (with a temporary screwdriver for the rear tank mount bolt!):

and then I decided to chuck some fuel in and see what would happen! So, I used a funnel and put around 2.5L of fresh fuel in the tank, push the bike outside, turned on the ignition, listened for the fuel pump to prime, pulled in the clutch, and hit the starter. The engine turned over, but whenever it turned over the dash turned off and restarted. The battery was definitely too low to be used to start the bike, so I hooked up my Noco jump pack and cranked it again. Without almost any hesitation the bike jumped into life! Sadly I don’t have a video of this as I didn’t have anywhere to put the camera, but I do have a video of it running taken immediately after it started:
As you’ll see towards the end of the video theres a fair amount of smoke coming from the front of the engine. This is a small coolant leak from one of the engine coolant hoses dripping onto the exhaust headers. This will be sorted. You’ll also notice that the dash is showing a speedometer reading when the bike is stationary, this is because the neutral switch doesn’t seem to be working. After the bike had run I checked the oil and topped it up around 500ml. I fired the bike up again and ran it for a bit longer and then packed in for the night. Major progress has been made over the past couple of weeks, and I think I’m on the right track to get this bike on the road before summer! I’ve ordered a few more bits from Yamaha including the rubber frame protectors and a sprocket nut with the locking tab plate. Next up I need to buy: – Bar Ends – Exup Eliminator – Chain & Sprockets – R&G Exhaust protector – R&G Crash Bungs Although I am considering making my own exhaust protector. Popped up the workshop again at the weekend weekend to get a few things done. Ended up making a fair bit of progress! Firstly I installed the new battery and an Optimate lead under the rear seat:


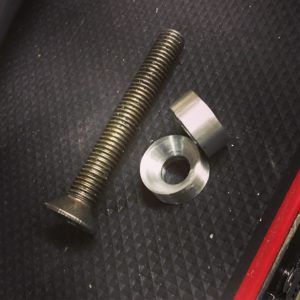
I had the standard problem of the screw terminals not being long enough to pick up the square nuts once the leads were installed, so I fitted slightly longer screws than standard. Whacked on a new front sprocket (don’t worry about the tab washer not being bent, I couldn’t torque the nut without the chain being fitted):

Unboxed my new fairings and started having a look at them:
Then a chap came to pick up a project car I’d sold, so I helped him load that up:

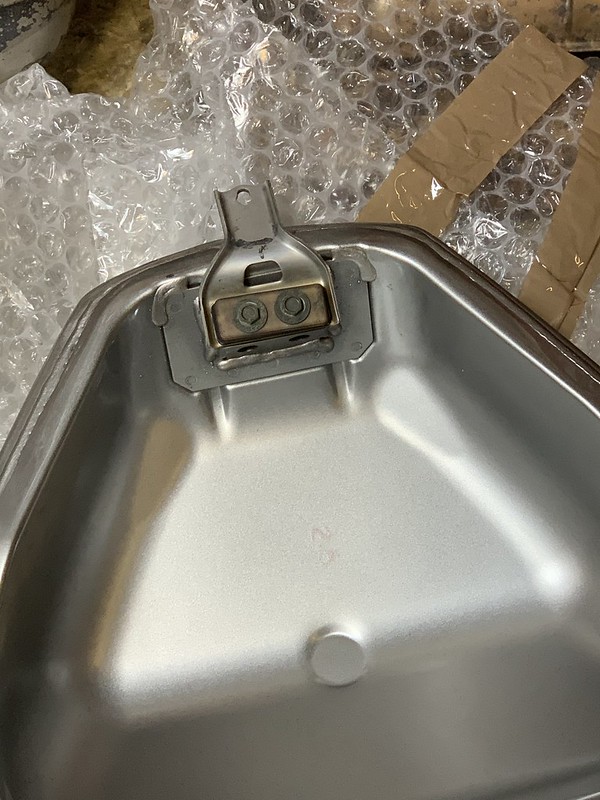
I removed the two belly pan mounts from the bottom of the old frame as I realised that I hadn’t got any on this frame. They were a bit mucky!

Got out a bag of new Dzus fasteners:

Cleaned up the brackets on the wire wheel:

Like new!

Cleaned the bolts up as well:

Fitted:

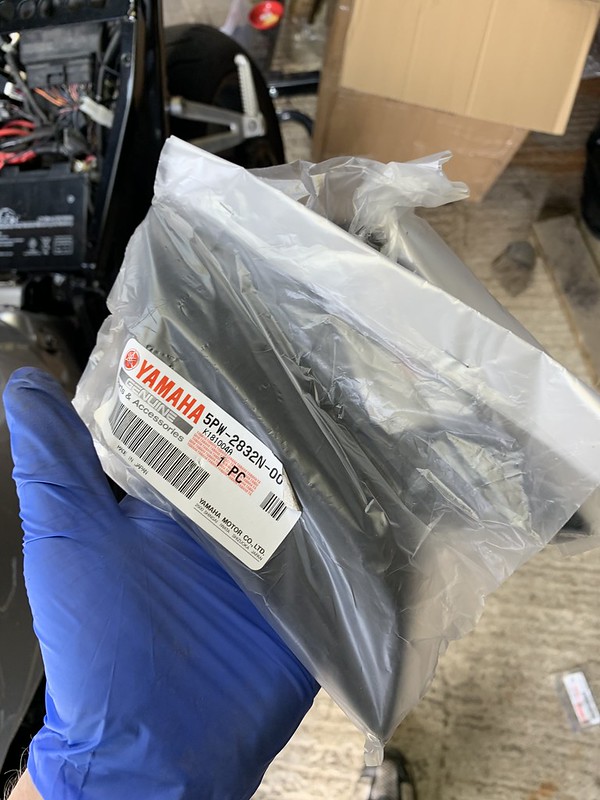
Got out the new rubber frame protectors from Yamaha:
Fitted them:


Pulled the rear wheel:

Removed the sprocket:

Brand new rear sprocket:

Fitted:

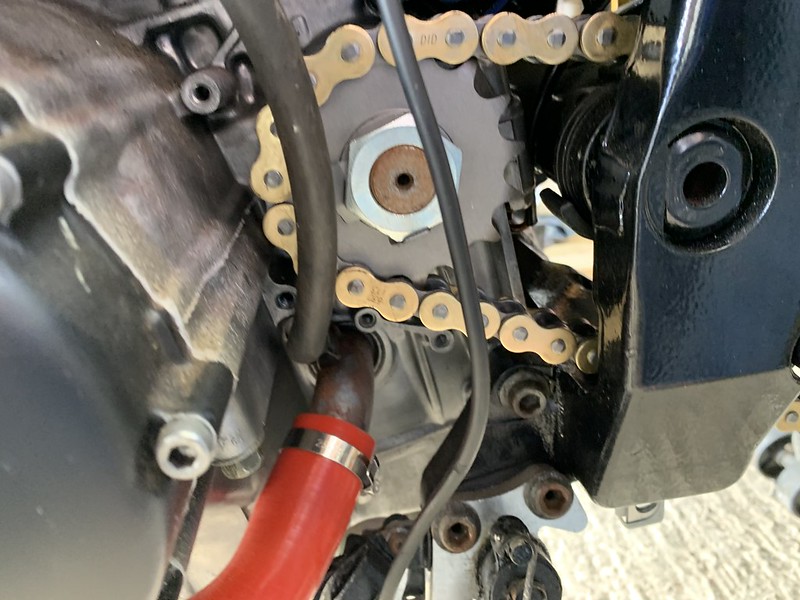
Torqued to spec:
Grabbed the chain:

Ran it around:

Riveted it together!

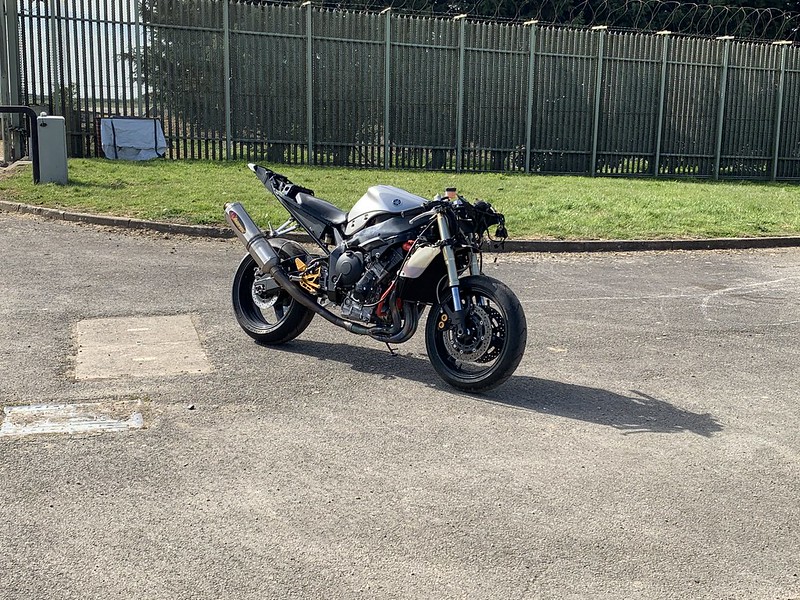
I then adjusted the chain, made sure everything was moving freely, and took the bike off of the paddock stand. I cable tied the wiring up to the front fairing brace, and pushed the bike outside. I the fired her up, pulled in the clutch, clicked the gear lever down, applied some throttle, and let the clutch out. The bike moved forward under its own power! I rode it around the car park, got her up into 2nd, but couldn’t get third! I decided to remove the harris rearset and fit the stock Yamaha one to see if that made any difference:

I then rode the bike around again, and sure enough I had all 6 gears. I took it down the road to the bottom of the farm and sure enough she rides great!

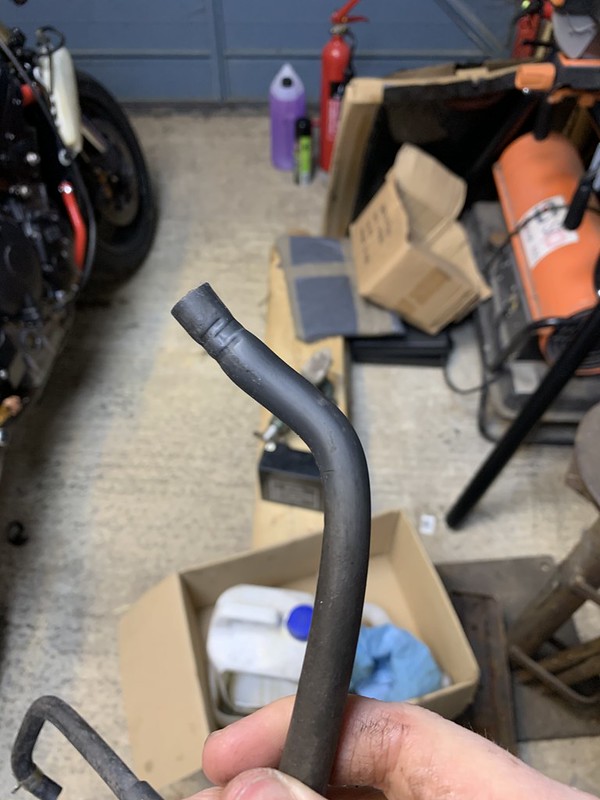
So, clearly the throw on the Harris rearset is misadjusted and needs to be extended. I took a look at it and realised that the ball joint at one end is bent:
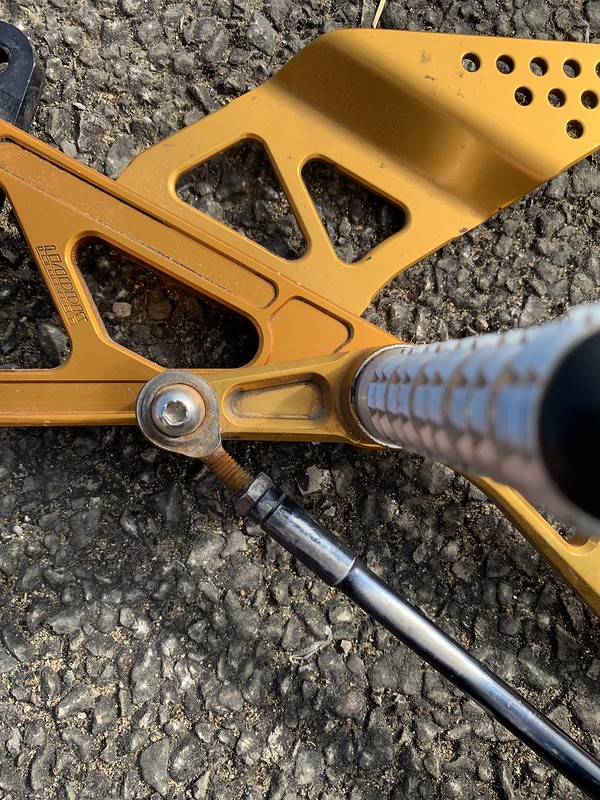
I’ve straightened this by hand, but I’ve not re-fitted the rearset yet. I’m going to adjust the shaft to the same length as the Yamaha one and see if that fixes the issue.
So in summary, a very big milestone in the project! THE BIKE MOVES!!!!