So, for the past few months this milling machine has been in two sections on two pallets taking up a large amount of space in my workshop. This hasn’t been an issue as I really haven’t had the time to get up there and do anything, but having had some time this weekend just gone I thought I might as well start looking at sorting it out!

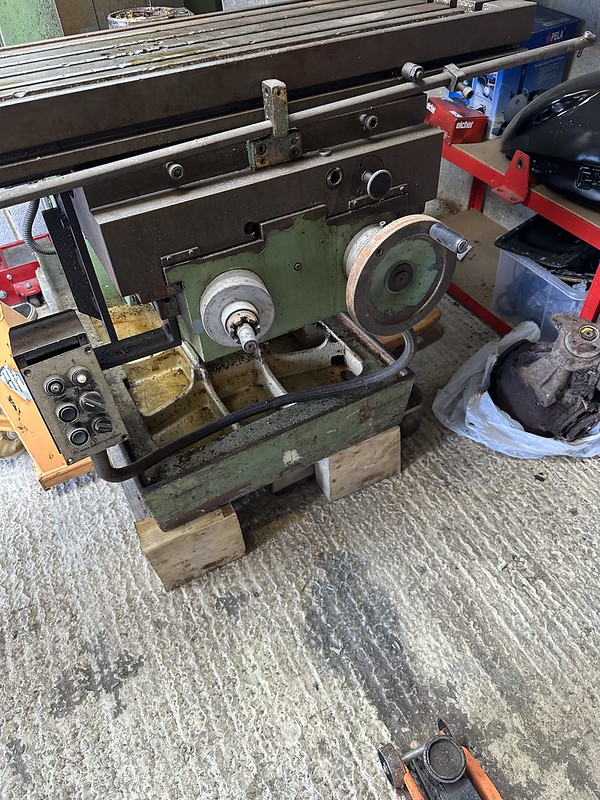
The first thing we did was drag the ram and head arrangement out of the garage using the pump truck, and free up the slideway that allows the head to be moved backwards and forwards. Once it was freed up again I greased it up and worked it back and forwards so it hopefully won’t seize again any time soon.

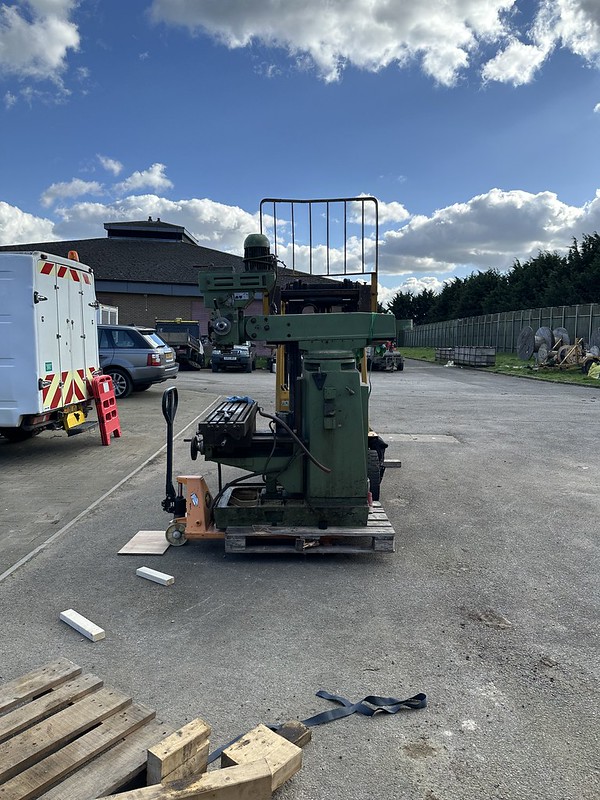
Then I dragged the main body of the milling machine outside.

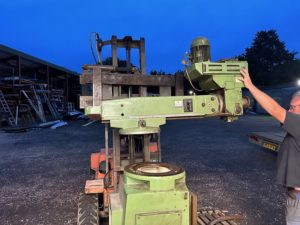
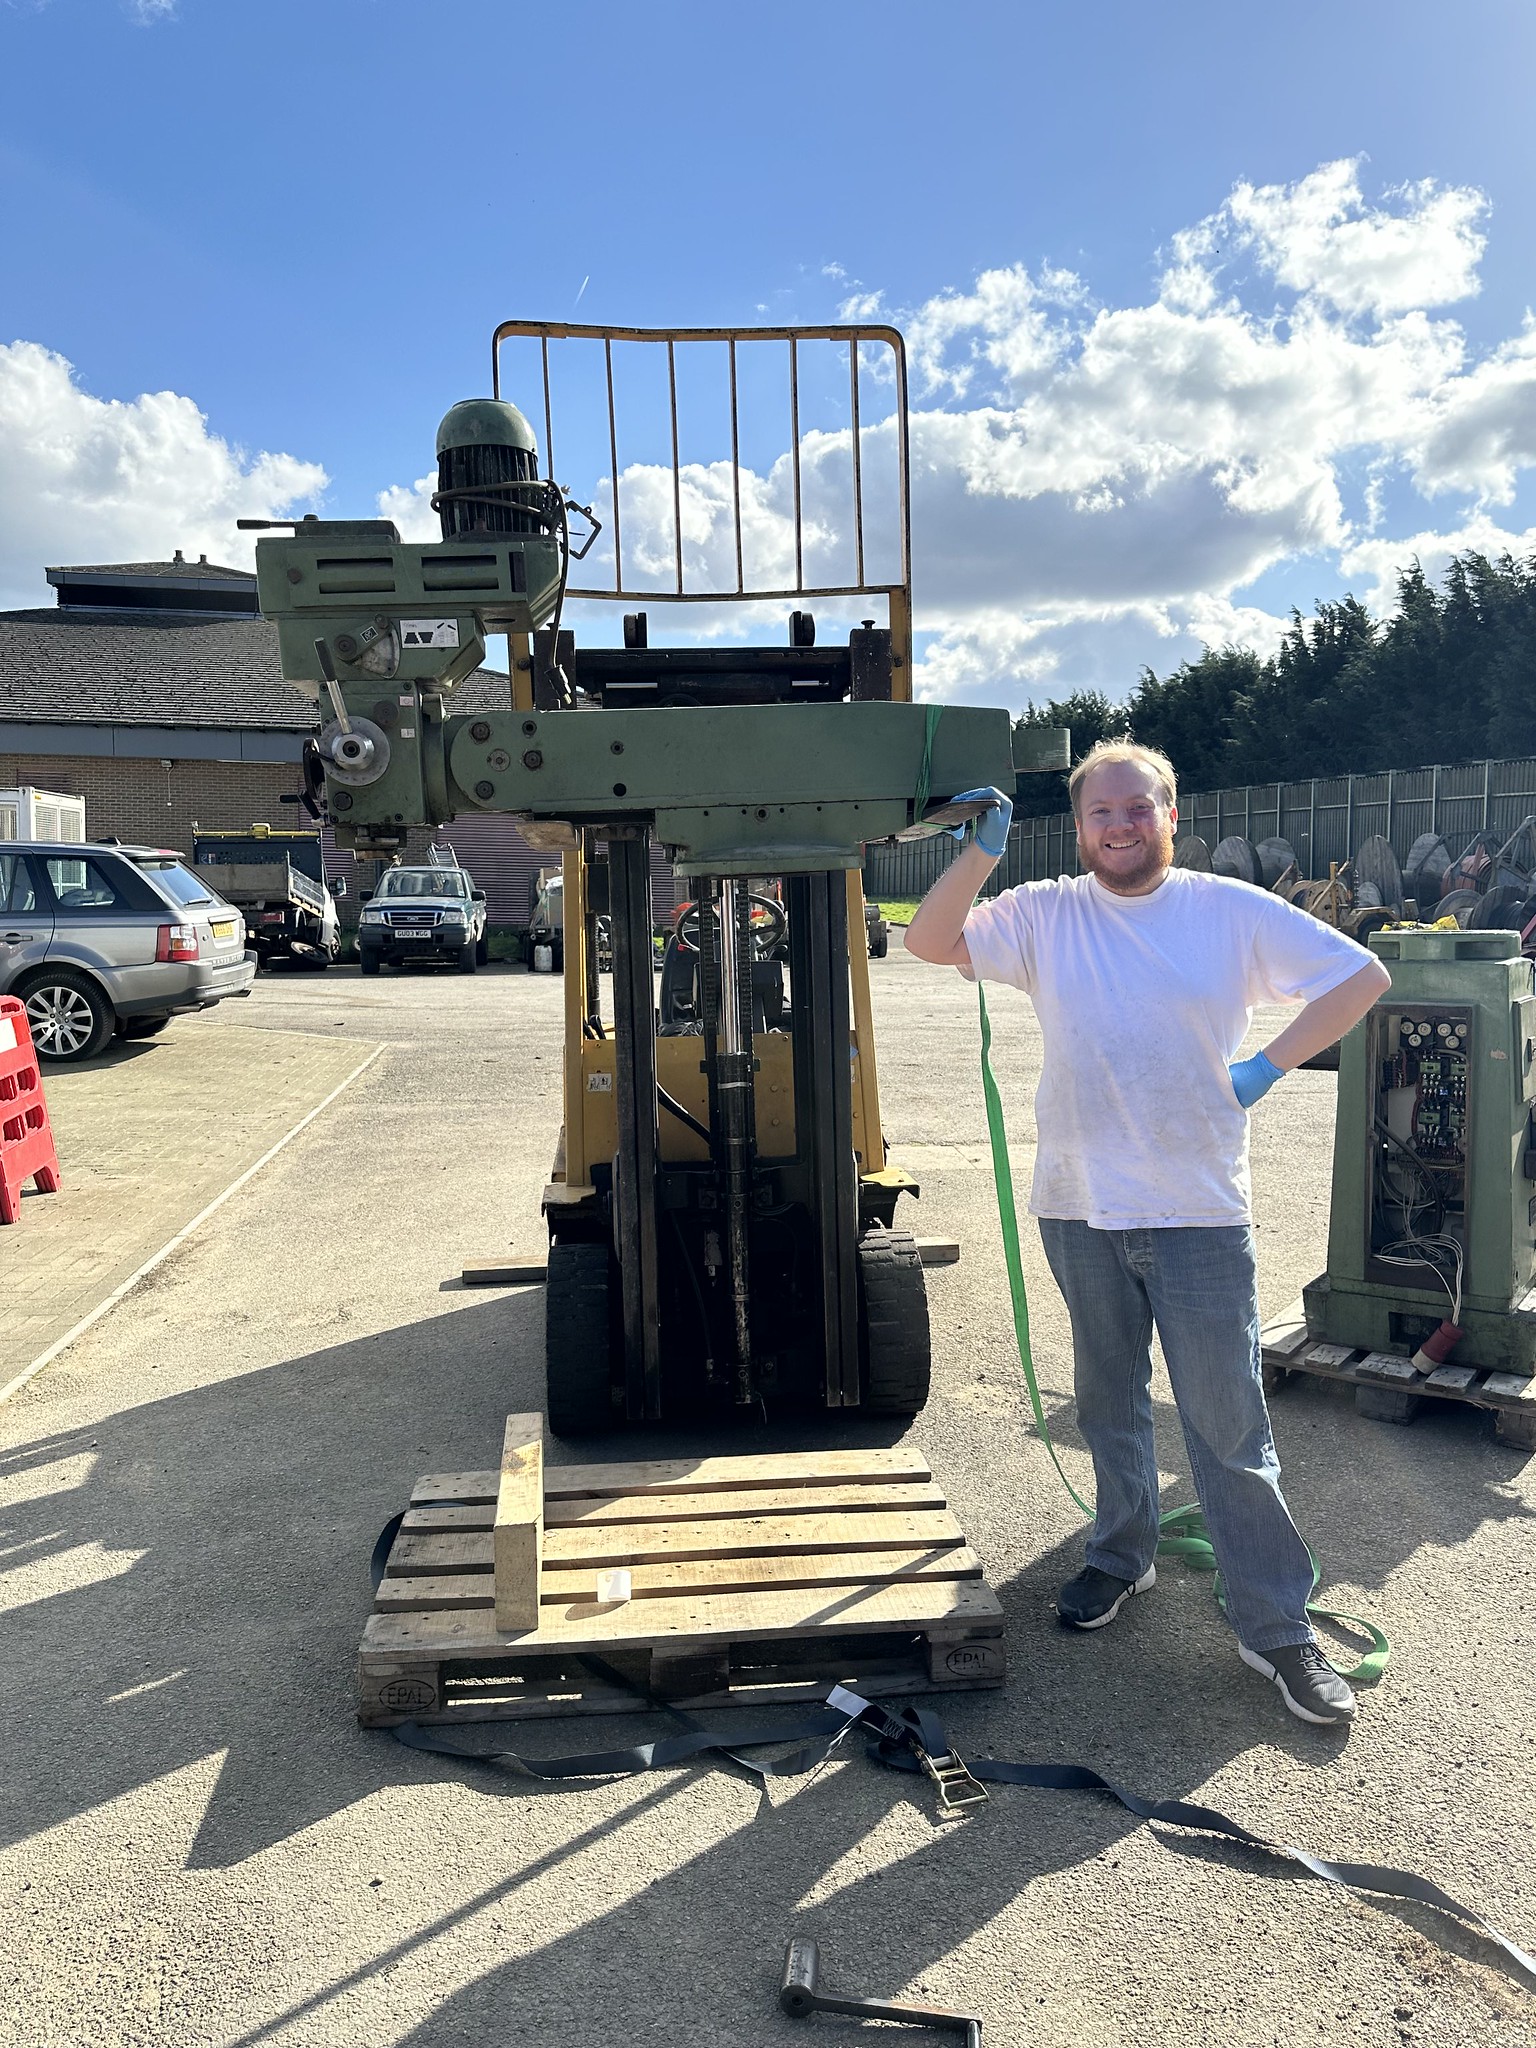
I then fired up the forklift, strapped the light end of the ram to one of the forks (it’s very front heavy!), and picked it up off of the pallet.

With a bit of finagling we manoeuvred the body of the mill underneath the ram, and lined everything up.

Dropped it down until the bolts were almost engaged, and then used the pump truck to lift it up the last few mm to engage everything before dropping the ram down and tightening up the bolts.

In order to fit it in under the door I had to pivot the head over 90 degrees (almost).

We then, enlisting the help of another friend, dragged it inside on the pump truck and moved it roughly into position. We now had the problem of how to get the (collapsing!) pallet out from underneath it. Numerous options were thrown around, but in the end we decided to go with the easiest (and probably most sketchy) way. First, we lifted the machine up on the pump truck and put two blocks of wood under the front:
We then put a block of wood under the back of the ram on a trolley jack, dropped the pump truck, and removed the pallet!
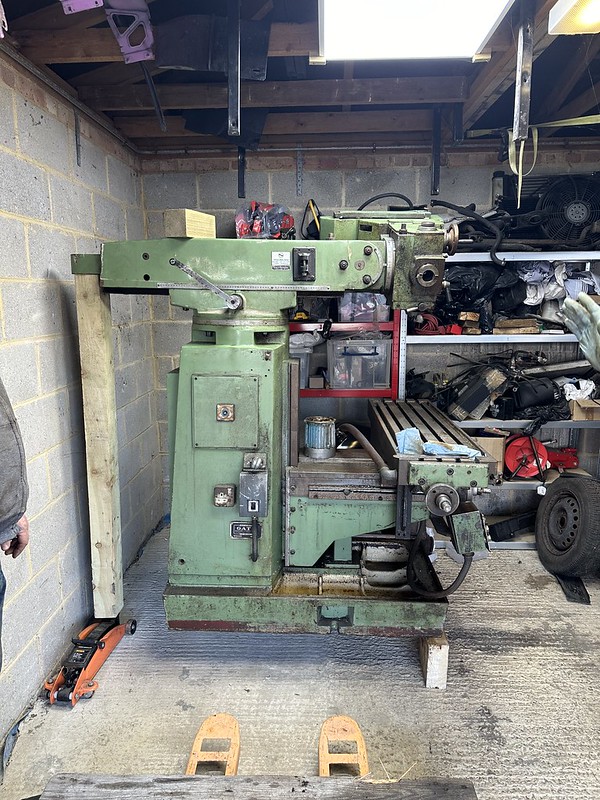
We then dropped the back down as low as we could, smacked the blocks out, and she was in place!

That took just about all day. Next time hopefully I’ll be casting the final motor mount, affixing it to the gearbox, getting the motor running, and getting the whole machine up and going!