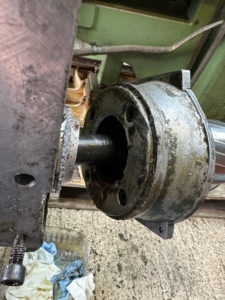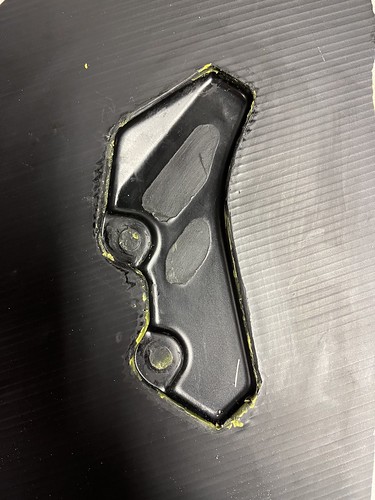
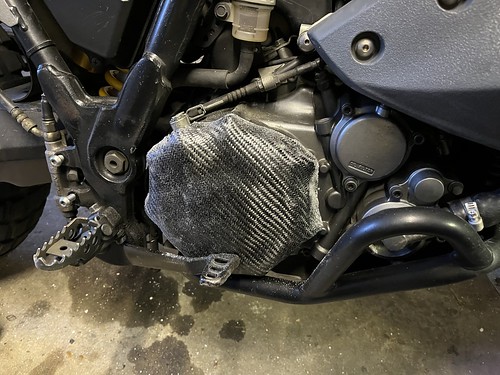
Yes yes, I know I haven’t updated the 5PW thread in ages, and I should be working on that, but this was shiny… So, how did all this start? Well, my XT660Z has a repeat problem where when I drop it off road, the brake pedal gets pushed into the clutch cover and inevitably cracks it. “Get a folding pedal!” I hear you cry. Yes yes, but no. That’s far too sensible. What I really needed was a casing protector. Except nobody makes one! I had some carbon sheet left in the garage that I bought ages ago to play with and never got around to. I figured whats the worst that can happen! I stuck a spare clutch cover down to some fluted sign board, buffed some beeswax into it, coated it with a PVA release agent, Smoothed over all of the openings and gaps with filleting wax, and laid up some wet carbon over the top. I knew this wasn’t going to be pretty, but it would at least be functional. In the end, I was left with this (excuse it being poorly trimmed and not clean, I still need to sand the edges, tidy up the cut out, and build up some spray lacquer on it):

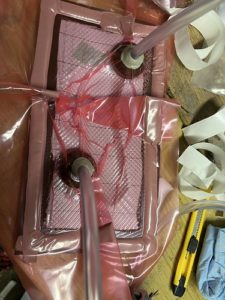
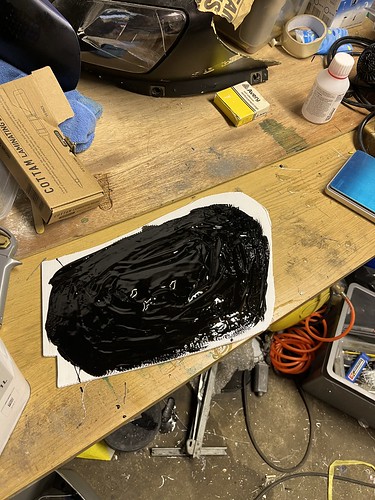
But this made me remember how much I used to enjoy playing with composites when I was younger, and that now I’m older with more disposable cash how much fun it could be to properly invest in some decent supplies and have another go at it. So I went onto EasyComposites and bought a selection of mould making and carbon infusion supplies. I didn’t want to spend £250 on a vacuum pump so I ordered a Chinese one that seems to review well. This all turned up over the past week or so, but as I work a lot I didn’t get much of a chance to play until this weekend. I decided to start small, and make a carbon heel plate for the XT660Z, something nice and easy to test out the theory. Unfortunately I forgot to take a picture of it in prep, but I stuck it to some fluted sign board, closed the edge with filleting wax, and filled the holes in as well. I then applied the first layer of tooling gelcoat:
I then applied an additional layer after 3 hours, and left it to cure overnight. The next morning, I added a coupling coat and two layers of fine chopped strand matting:

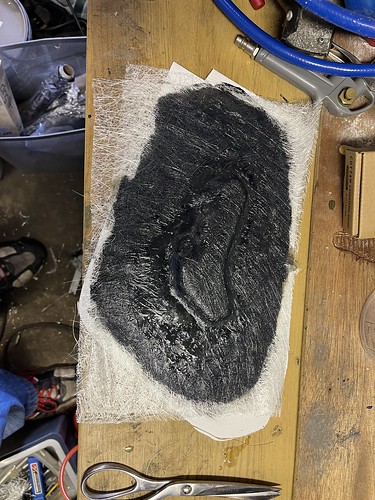
I left these for 3 hours to cure, then I added 5 layers of thicker chopped strand matting and tooling resin:

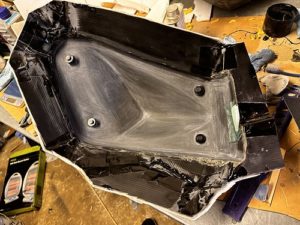
I left this for 5 hours to cure, then once it had fully exothermed and cooled, I carefully removed the fluted signboard:

I then removed the part with great ease thanks to the easylease release agent:
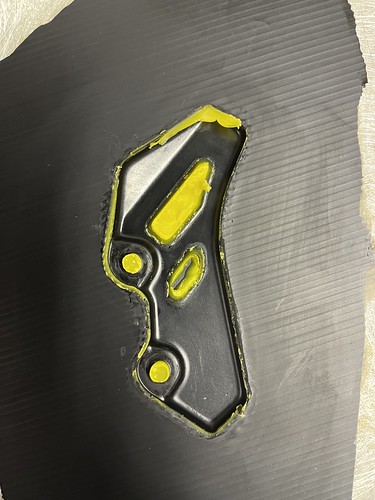
and cleaned out some of the wax:

and that’s as far as I’ve got as the work week started and I got busy! Next steps are to trim the mould flanges and sand down the rough spots where the filleting wax was. I thought those would be smoother but it seems not. Lessons leaned so far: 1) Use an easier shape of fluted signboard (I used an off cut, hence the weird shape) 2) Measure the coupling coat better (I had way too much resin left over) 3) Find a better way to get a better surface from the wax My ultimate goal is to make a set of fairings for my R1 in Carbon, but we’ll see how far we get…