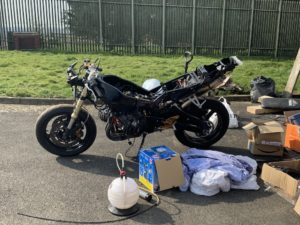
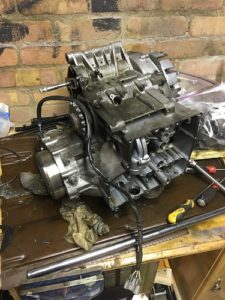
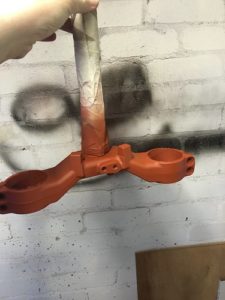
I was planning to spend this whole bank holiday weekend working on the bike, however when I got up to the workshop on Friday I just couldn’t deal with the mess anymore, so I decided to tidy up a bit. My father kindly agreed to help, and so we pulled everything out of the garages, sorted out what was scrap and rubbish, built some shelves, and put the rest of it back inside:


I had some LED light panels meant for drop ceilings kicking around, so I make some L brackets and put them on the ceiling:

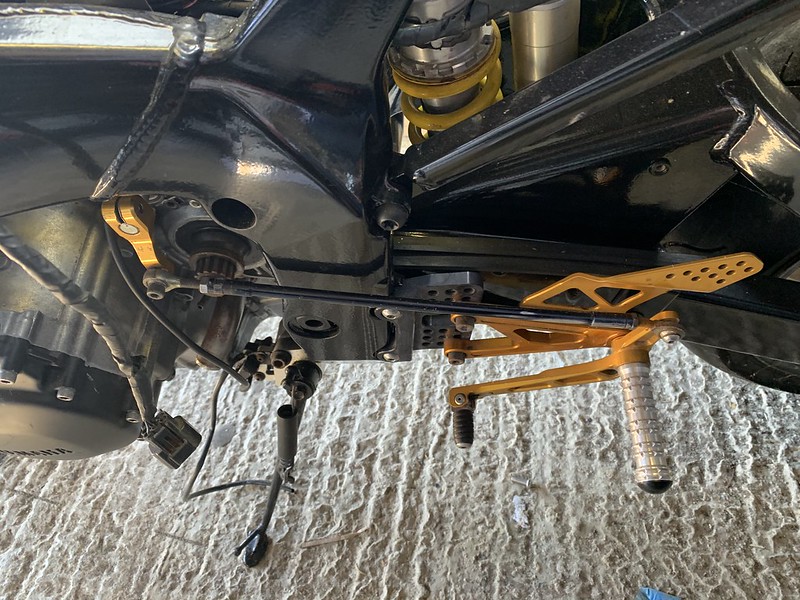
Then today I turned my attention back to the bike. I’d contacted Harris and asked to buy some new bolts for the rearsets, which they duly shipped me, but neglected to charge me for! Very kind of them indeed. So I started assembling the righthand side:


You may notice the brake pedal is missing. Earlier in this blog I removed it to machine a new one, however I lost it somewhere along the way! I’ve ordered a new one from Harris which will hopefully arrive this week coming. I then turned my attention to the gear selector. I taped it onto the splined shaft, put the bolt in, and tightened it up. I can now select 1st, neutral, and 2nd with ease!
Next I decided to fit the throttle cables. This was an absolute mare of a job. I really should have fitted these before I fitted the throttle bodies, but I didn’t ,and given what a PITA the throttle bodies were to fit last time, I didn’t really want to pull them off again. As such, I went in with a small pair of needle nose pliers and hands contorted into tiny places and managed to get the cables fitted:

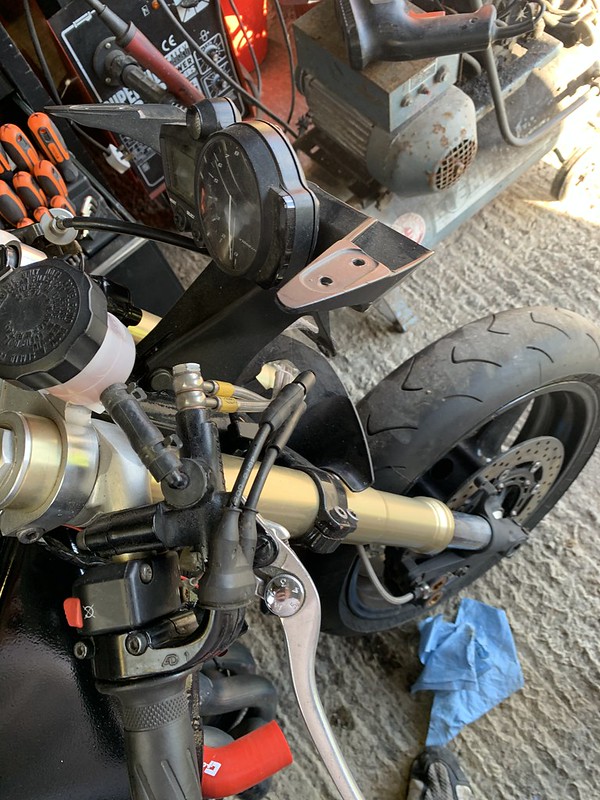
Once I’d gotten it all fitted, the throttle was very sticky. It wouldn’t return to idle position without manually turning it, so I stripped the throttle tube down, cleaned the clip on, lightly lubricated it, and refitted the throttle tube. This solved the problem and the throttle now works perfectly! When I’d originally fitted the exhaust I’d done it with nuts that weren’t the perfect thread pitch. I ordered some new ones from Yamaha and changed them all out today:

And then I decided to pack up and go home for dinner. This is how the bike sits now:

Next day I headed up the workshop again and thought I’d get the clutch cable fitted. I needed the cable retaining bracket that wasn’t attached to this engine, so I found it in one of my bags of parts and cleaned it up:


and fitted:

Then I finished connecting the wiring to the hand controls and ignition, and I installed the plastic covers. I also fixed the wiring issues I’d had before by tracing back the wiring colours in the Haynes diagram.

I then decided to plumb in the cooling system, so I fitted the radiator and got that piped up. I also clipped in the clutch cable:

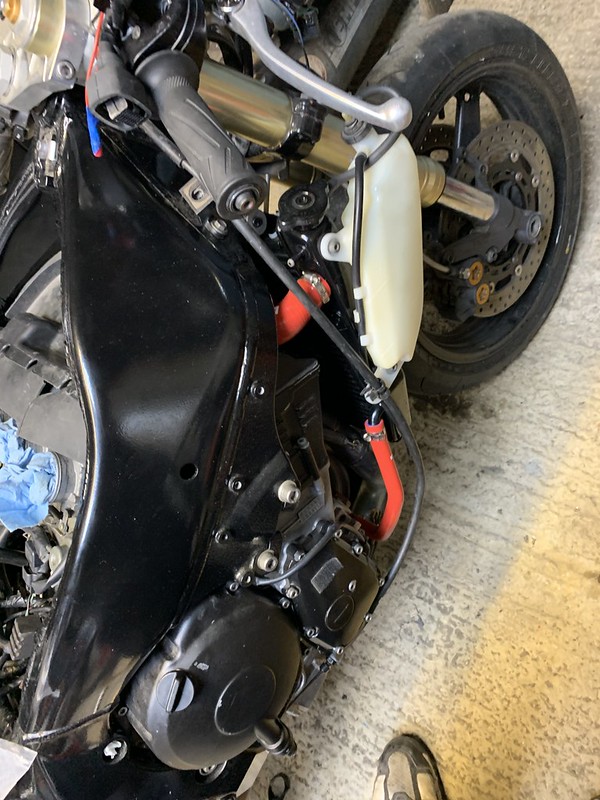
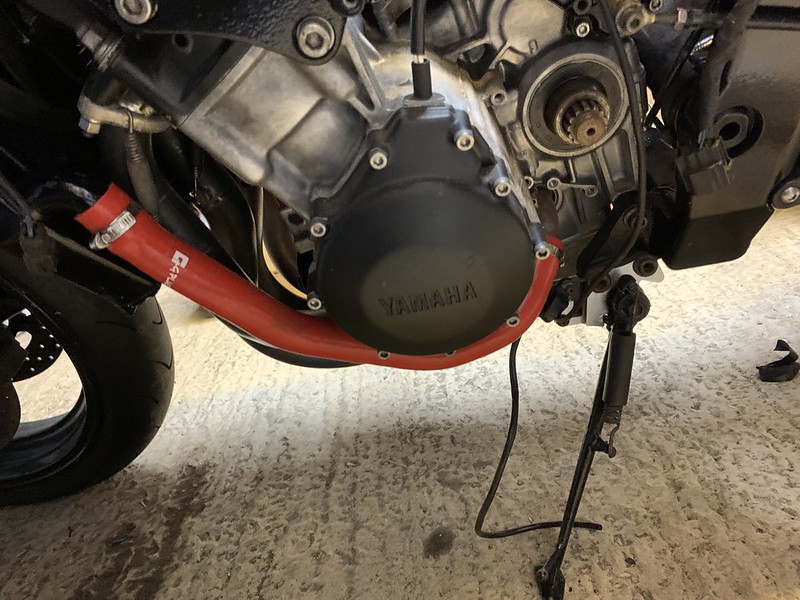
The only piece of cooling pipe I couldn’t plumb in was the T-piece that connects to the thermowax cylinder on the throttle bodies. I couldn’t find this in the box of parts, so I presume its in the garage at home. Hopefully I can find it soon!
I then double checked the wiring over:

I didn’t have the battery with me (it was on the Optimate at home), so I connected up the Noco I had in the car:

Got some lights on the dash:

Sprayed some easy start into the throttle bodies, pulled the clutch in, hit the switch and:
Boom! She fired. Albeit very briefly, but now at least I know it’s not completely dead and I can build the rest without worrying that the electrics are completely shot!


